.png)
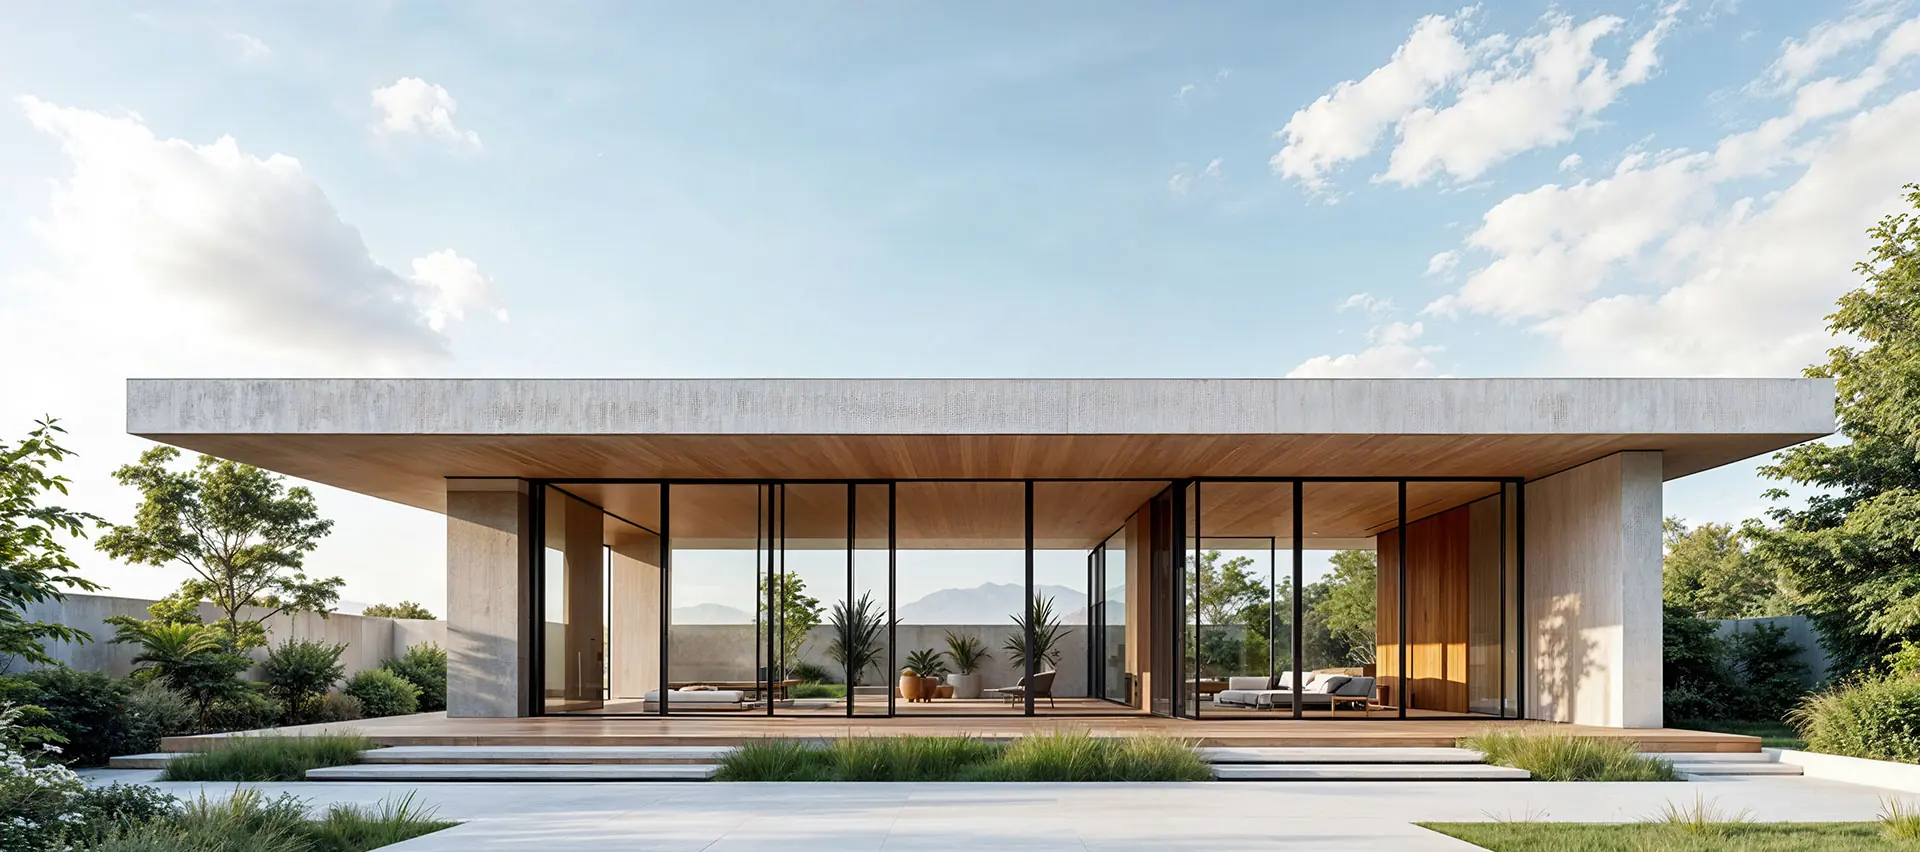
Planning a home remodel can feel overwhelming, but a successful project starts long before the first hammer swings. Knowing how to plan a home remodel is about creating a clear roadmap that turns your frustrations into a functional, beautiful space you love. This guide breaks down the essential steps, from defining your vision to navigating the final details, ensuring your renovation journey is smooth and rewarding. At ACET Custom Homes, we’ve used our 15+ years of experience to help Oklahoma families get this right, and this guide shares our proven process.
Step 1: Define Your Remodel Vision and Scope
Every great remodel starts by solving a problem. Before you get lost in materials and builders, translate your frustrations into a concrete plan. Is your Edmond kitchen too cramped for family gatherings? Is the master bathroom in your Deer Creek home a source of morning chaos instead of a peaceful retreat?
The first step is to pinpoint the specific problems you want to fix. It's not enough to say, "I want a new kitchen." You have to dig deeper. Think, "The lack of counter space makes prepping dinner a nightmare," or "This 1990s bathroom is dark and has zero storage."
After more than 15 years of building and remodeling homes, we at ACET Custom homes have seen it time and again: the most satisfying projects are the ones that eliminate those persistent, daily annoyances.
Separate Needs From Wants
Once you've nailed down the core problems, it's time for the fun part—brainstorming solutions. This is where you’ll create two very important lists: your "must-haves" and your "nice-to-haves." This simple exercise is absolutely critical for building a project scope that fits a realistic budget.
Your must-haves are the non-negotiables. These are the items that directly solve the problems you just identified.
- Example Must-Have: "A double vanity in the master bath is a must to stop the morning traffic jams."
- Example Must-Have: "We have to remove that non-load-bearing wall between the kitchen and living room to open up the space."
Your nice-to-haves are the dream features—the things you’d love to have but could live without if the budget gets tight.
- Example Nice-to-Have: "Heated floors in the bathroom would be amazing."
- Example Nice-to-Have: "I'd love a built-in wine fridge in the new kitchen island."
This separation is your best defense against a runaway budget. It gives you and your builder a clear set of priorities when decisions have to be made down the line.
The diagram below shows how you can get from a general problem to a focused project scope just by filtering through your wants and needs.
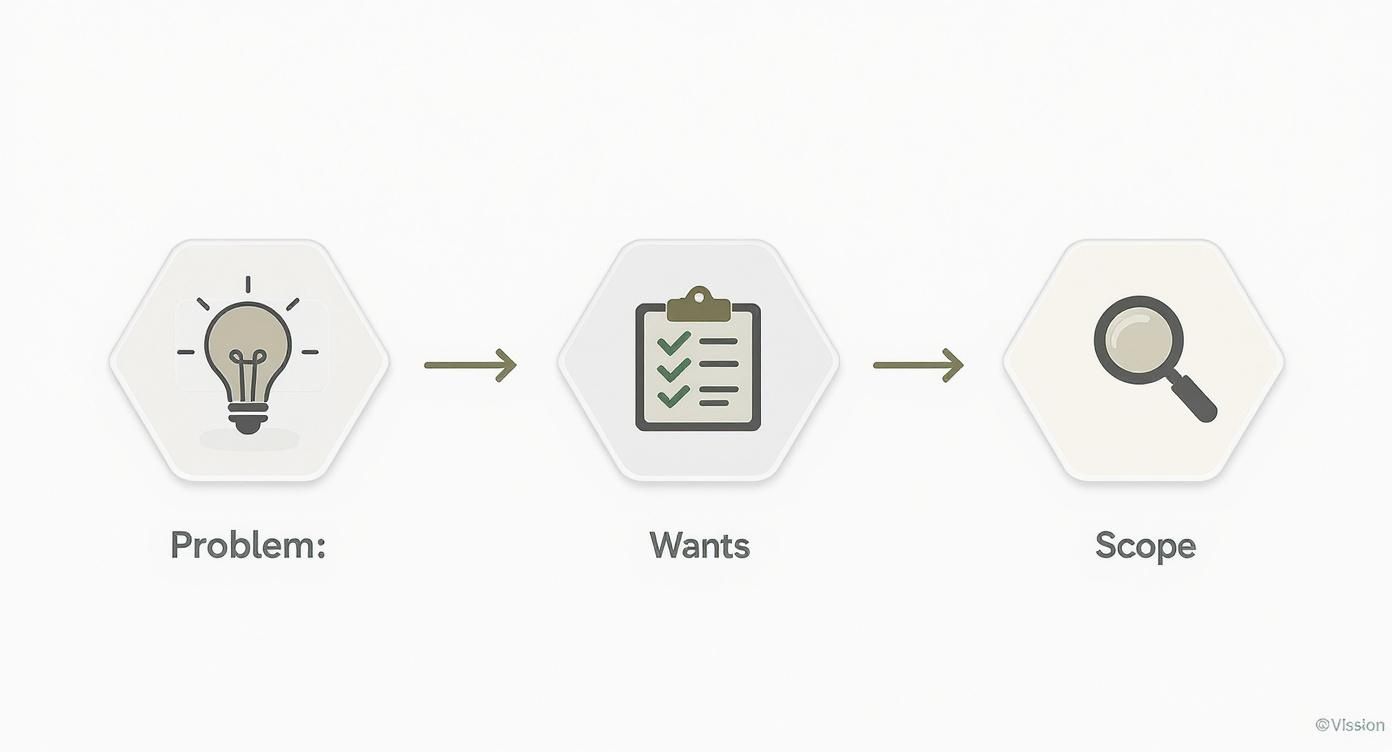
Following this thought process ensures your final plan is directly aimed at solving the real issues that made you want to remodel in the first place.
Gather Inspiration With An Oklahoma Mindset
With your lists in hand, it’s time to start gathering visual ideas from places like Pinterest, Houzz, and your favorite design magazines. But here's a pro tip: always filter that inspiration through a practical, local lens. A design that looks stunning in a coastal California home might not be the best fit for a house in Norman or Shawnee.
You have to think about Oklahoma's unique environment:
- Weather-Ready Durability: Choose materials that can stand up to our intense sun and unpredictable storms. For example, fiber cement siding often outperforms vinyl in hailstorms.
- Foundation First: Much of Oklahoma has expansive clay soil. This means that certain choices, like large-format tiles, might need special installation methods to keep them from cracking down the road.
- Smarter Energy Use: With our scorching summers, planning for high-performance windows or adding better insulation during a remodel is one of the smartest long-term investments you can make. You can find more ideas in our guide on energy-efficient home features.
By figuring out your "why," carefully separating your needs from your wants, and gathering practical inspiration, you'll create a powerful project brief that paves the way for a smooth and rewarding home remodel.
Step 2: Get Real About Your Oklahoma Remodel Budget
Let’s be honest: the budget is where the dream meets reality. Getting this part right is the single most important thing you can do to ensure your remodel is exciting, not stressful. A clear financial plan is the bedrock of the entire project, especially here in Oklahoma where local conditions can throw you a curveball. Knowing how to map out your home remodel budget from day one will save you a world of trouble down the road.
The first step is thinking beyond the obvious. Your total investment isn't just the cost of cabinets and countertops. It's everything from the initial design fees and city permits to the skilled labor and that perfect light fixture you've had your eye on. At ACET Custom Homes, we walk our clients through this line by line, making sure every dollar has a name before a single wall comes down.
Your Most Important Investment: The Contingency Fund
If you only remember one thing from this guide, make it this: you absolutely must have a contingency fund. Think of it as a built-in safety net for the inevitable "uh-oh" moments that pop up in any remodel. For most projects here in Oklahoma, we strongly recommend setting aside 15-20% of your total construction cost.
That might sound like a lot, but there's a good reason for it. Oklahoma's infamous expansive clay soil means foundations can shift in subtle ways over the years. It's not at all unusual, especially in places like Moore or Edmond, to pull up old flooring and find hairline slab cracks that need to be addressed. Older homes, like the beautiful historic properties in Guthrie, can hide other surprises, from outdated knob-and-tube wiring to old plumbing that simply won’t pass a modern inspection.
Your contingency fund isn't "extra" money for upgrades or fun splurges. It's a non-negotiable part of the budget that protects your project from being derailed by necessary but unforeseen repairs.
Where Does the Money Actually Go?
To build a budget that holds up, you need to know how the pie gets sliced. While every project is different, the costs tend to fall into predictable buckets. Labor is almost always a huge piece of it, followed by the materials and finishes that bring your vision to life.
To give you a clearer picture, here’s a look at how costs typically break down for a mid-range kitchen remodel in the Oklahoma City metro. A framework like this helps you see how a total project cost—say, $75,000—gets allocated.
Sample Budget Breakdown for a Mid-Range OKC Kitchen Remodel
This breakdown really highlights how your choices impact the bottom line. For example, opting for high-end, durable quartz countertops will have a different financial footprint than choosing a standard granite. The same goes for windows—investing more upfront in top-tier, energy-efficient models can lead to real savings on your utility bills during our hot Oklahoma summers.
Financing Your Renovation
For larger-scale projects, many homeowners in communities like Norman and Elmore City look at financing options. This allows them to create the home they want without having to drain their savings. With home equity at an all-time high, it's become a smart and common strategy. In fact, The Leading Indicator of Remodeling Activity (LIRA) projects that homeowners will spend close to $509 billion on improvements in 2025, with much of that driven by people reinvesting in their current properties. You can read more about these home improvement industry trends on finmkt.io.
Some of the most popular ways to finance a remodel include:
- Home Equity Line of Credit (HELOC): This works like a credit card backed by your home's equity. You draw what you need, when you need it, which is perfect for projects where costs can fluctuate.
- Home Equity Loan: You get a lump-sum payment with a fixed interest rate. This is great if you prefer predictable, stable monthly payments.
- Cash-Out Refinance: You refinance your existing mortgage for a higher amount and pocket the difference in cash to pay for the remodel.
Nailing down your budget is a critical first step in figuring out how to plan a home remodel. It takes your project from a wishful idea to a concrete, actionable plan and paves the way for a fantastic construction experience. To see more about how we handle this, feel free to browse our Custom Home Builder Articles.
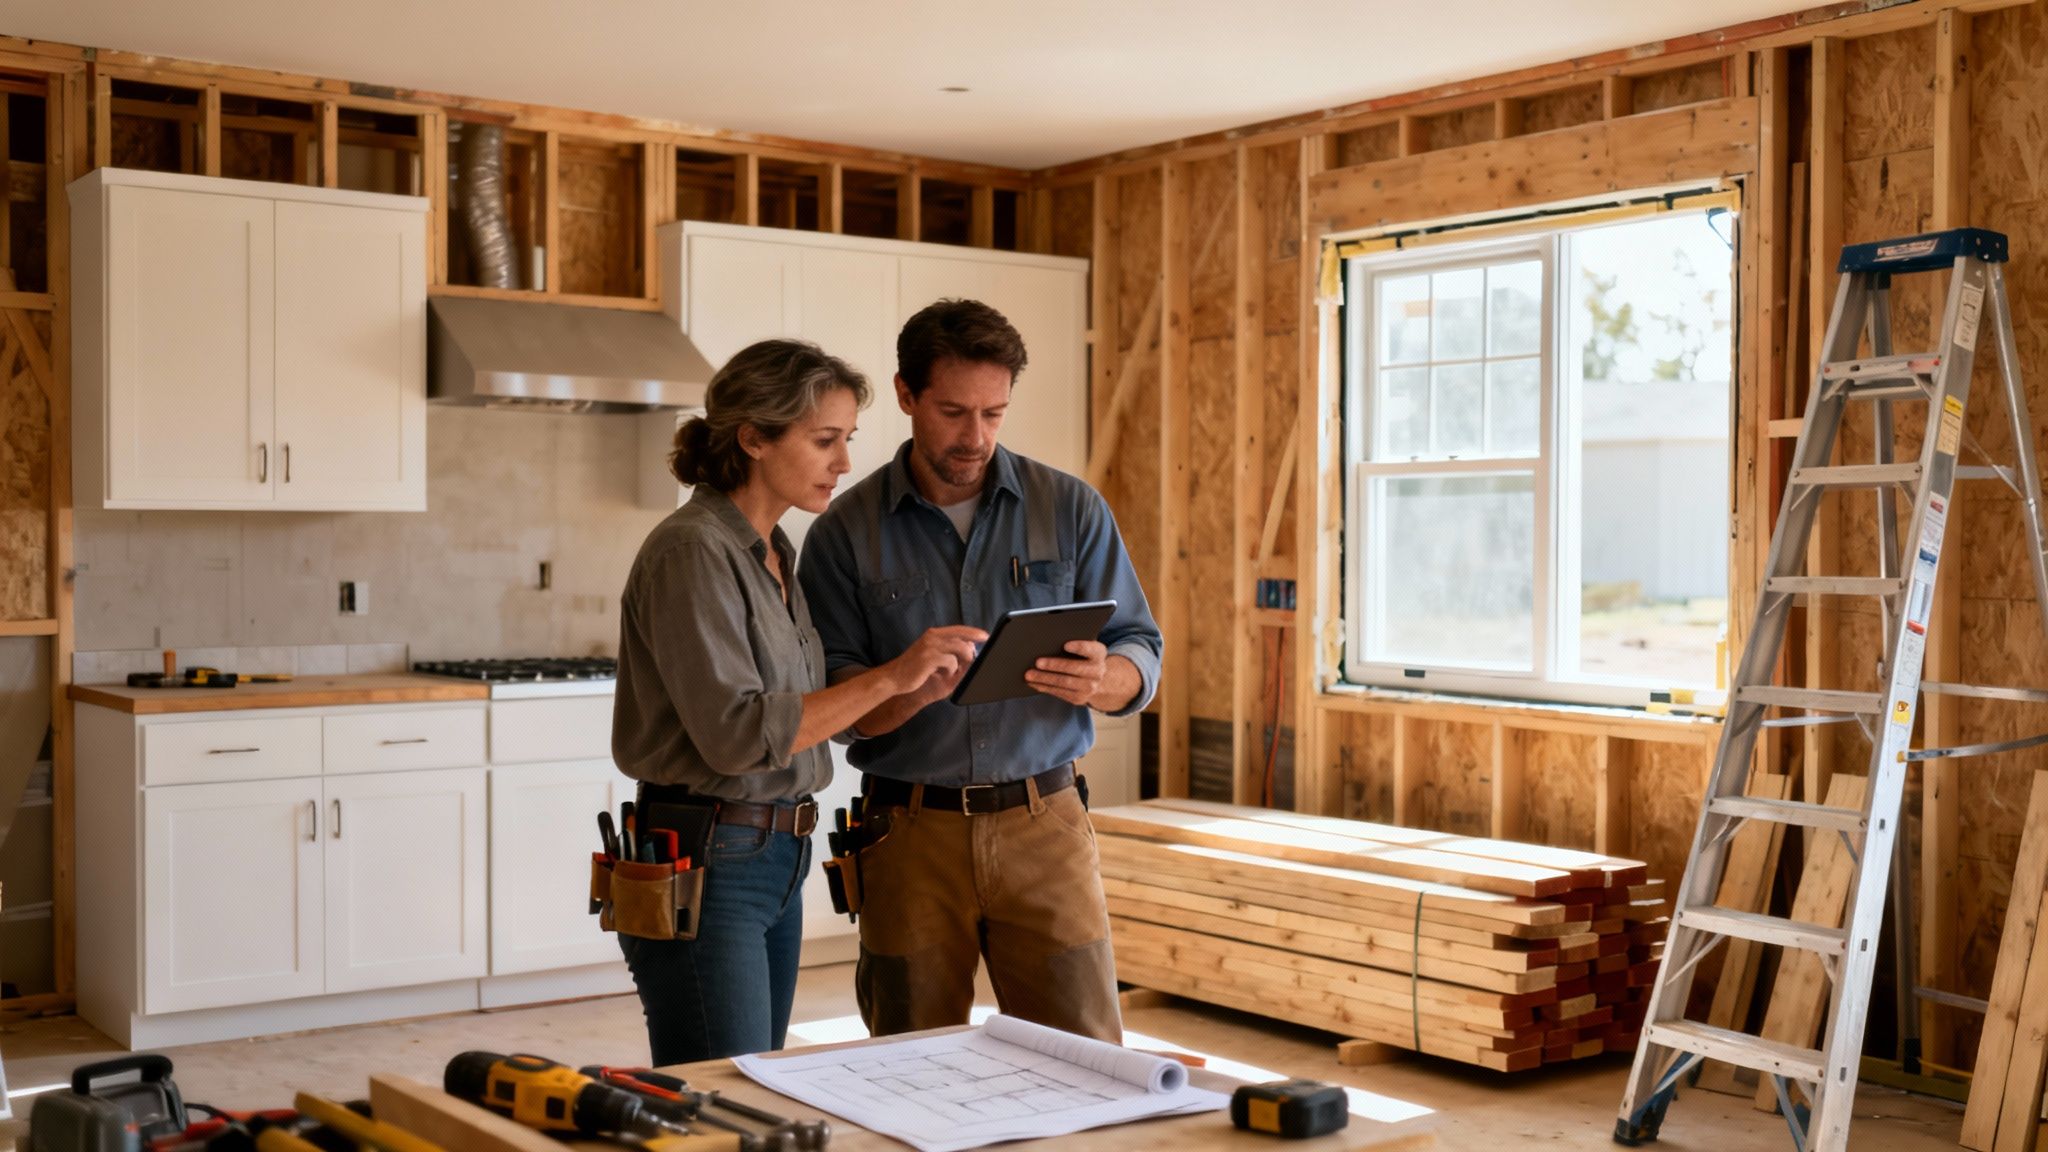
Step 3: Assemble Your Oklahoma Remodel Team
The success of your remodel—and your sanity during the process—hinges entirely on the professionals you bring on board. Once you’ve figured out how to plan a home remodel on paper, the real work begins: finding the right people to bring your vision to life. This isn't just about hiring a builder; it's about assembling a team that truly gets what you want, respects your budget, and understands the unique challenges of building in Oklahoma.

The old-school way of doing things is to hire an architect for plans, bring in an interior designer for finishes, and then shop the project around to several general contractors. While that can work, it often casts you, the homeowner, as the project manager and mediator. When issues pop up—and believe me, they always do—the architect might point fingers at the builder, and the builder points right back at the plans. It can get messy.
The Design-Build Advantage in Oklahoma
We do things differently at ACET Custom Homes because we operate as a design-build firm. This just means one team handles your entire project, from the very first sketch to the final walkthrough. Your architect, designer, and builder are all under one roof, collaborating from day one. This unified approach is a game-changer, especially for complex renovations.
With a design-build team, everyone is accountable to each other. Communication is seamless, finger-pointing is eliminated, and the budget is a constant consideration during the design process—not an afterthought once the plans are already finished.
We’ve seen this model work wonders, whether we're tackling a large-scale addition in Deer Creek or a historic renovation in Guthrie where you never know what you'll find behind the walls.
Choosing Your Remodel Partner: Design-Build vs. Traditional
Whether you go with a design-build firm or hire separate pros, your vetting process has to be thorough. The quality of your team will directly translate to the quality of your finished home. Here’s a quick breakdown of the two main approaches.
Must-Ask Questions for Any Potential Builder
Before you sign on the dotted line, you need to ask some tough questions. A seasoned, professional builder will not only expect them but welcome them.
Key Vetting Checklist:
- Licensing & Insurance: "Can I see your current Oklahoma state license and proof of general liability and workers' compensation insurance?" This is non-negotiable. Never, ever hire an uninsured contractor.
- Local Experience: "How many projects have you completed in [Your City, e.g., Macomb, Shawnee]?" This is huge. A builder who knows the local permitting office in rural towns like Elmore City or Chickasha can save you weeks of frustrating delays.
- Project Management: "How will you communicate with me? How often will we have site meetings? Do you use any project management software to keep me in the loop?"
- Subcontractors: "Do you use a consistent crew of subcontractors? Are they all licensed and insured?" A builder with long-standing relationships with their tradespeople usually delivers much higher-quality, more consistent work.
- Past Projects: "Can you give me 3-5 recent references for projects similar to mine?" Don't just get the list—actually call them.
When you're checking those references, ask about communication, how they handled problems, if the project stayed on budget, and the ultimate question: would they hire them again? Finding the right custom home builder is about more than a number on a bid; it's about finding a true partner for your project.
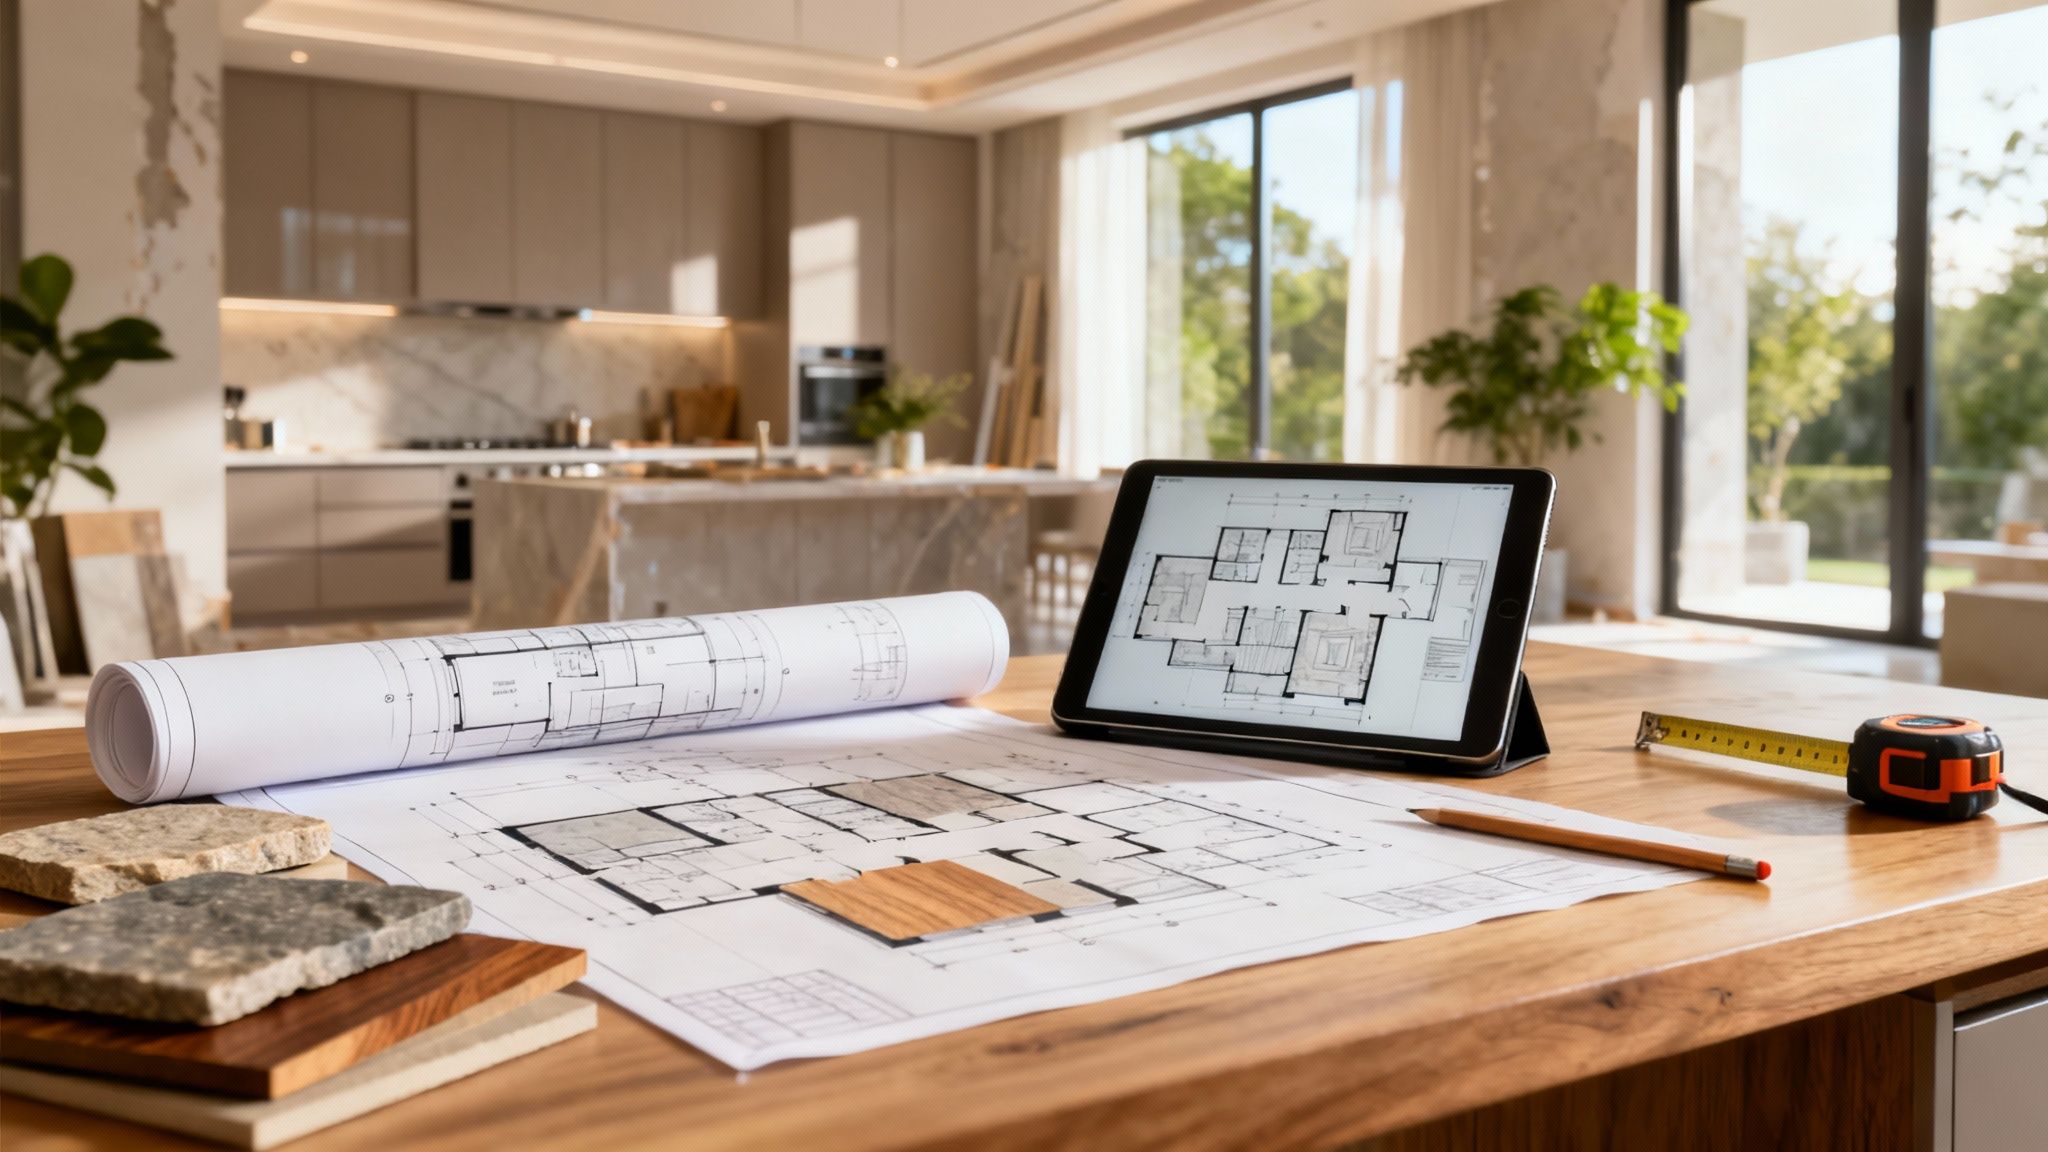
Step 4: From Dream to Blueprint: Nailing Down Your Design and Permits
This is where the rubber really meets the road. All those ideas you’ve been saving, the magazine clippings, and the late-night brainstorming sessions start to become real, tangible plans. You'll work side-by-side with your design team to translate your wish list into a detailed set of construction drawings that your builder can actually use.
The goal? To make every single decision before a hammer ever swings. We're talking about everything from the flooring you'll walk on to the light fixtures you'll flip on every day. Locking these choices in now is the secret to staying on budget and on schedule.
Smart Design for Oklahoma Homes
Here in Oklahoma, we can't just pick what looks good; we have to build for what our environment throws at us. With over 15 years under our toolbelts remodeling homes across the state, we’ve seen firsthand what happens when you don't account for our unique challenges right from the start.
Choosing the right materials isn’t just about style—it's about long-term durability. Making the wrong call now can lead to some painful repair bills later.
Making the Right Calls on Materials:
- Flooring That Fights Back: Oklahoma's expansive clay soil is no joke. It's constantly shifting, which can be brutal on certain types of flooring. While those giant, beautiful ceramic tiles are stunning, they're rigid and can crack under the pressure. That's why we often steer our clients in Edmond and Deer Creek toward more forgiving options like Luxury Vinyl Plank (LVP) or engineered hardwoods that can handle subtle foundation movement.
- An Exterior That's "Tornado-Tough": It’s no secret our weather can be wild. Your home's exterior needs to be its first line of defense. Materials like James Hardie fiber cement siding and classic brick are incredibly popular for a reason—they stand up to high winds and hail far better than standard vinyl siding.
- Beating the Summer Heat: Those scorching Oklahoma summers can send energy bills through the roof. We focus on specifying high-performance windows and the right kind of insulation to keep homes in Norman and Moore cool and comfortable without breaking the bank.
It can be tough to imagine how all these different elements will come together. That's why our 3D Design Service is such a game-changer. You get to see a photorealistic preview of your space, letting you swap out finishes and confirm layouts with total confidence before you commit.
Making Sense of the Permitting Puzzle
With your designs locked in, it's time to get the official green light: the building permit. This isn't just bureaucratic red tape; it's a critical step to ensure your remodel is safe, up to code, and built to last. Trying to skip this step is a massive risk that can result in hefty fines, a stop-work order from the city, or major headaches when you eventually sell your home.
Think of a building permit as an insurance policy. It's proof that a neutral expert has reviewed your plans and confirmed they meet the minimum safety standards for your family and your home.
So, when do you actually need one? The specifics can differ a bit from Oklahoma City to smaller towns like Shawnee or Macomb, but the general rule is you'll need a permit if you plan to:
- Move, remove, or alter any walls (especially if they're load-bearing).
- Add on to your home's footprint.
- Make significant changes to your electrical, plumbing, or HVAC systems.
- Change your roofline or make any other structural modifications.
This part of the process should fall squarely on your builder or design-build firm's shoulders. They're the ones who will prepare and submit all the necessary documents, communicate with city inspectors, and manage the on-site inspections. The U.S. Department of Housing and Urban Development even highlights proper permitting as essential for major renovations, as detailed on their Rehabilitation and Repair page.
Getting that permit in hand can take time, and that timeline can have a real impact on your start date. A busy jurisdiction like OKC might take several weeks to issue a permit, whereas a smaller municipality might be quicker. A seasoned local pro will know these timelines well and will build that waiting period right into your project schedule, creating a smooth and predictable path from paper plans to the finished product.
Step 5: The Construction Phase: Turning Plans into Reality
Alright, the plans are done, the permits are approved, and now the real fun begins. This is the moment your vision starts to materialize, but let's be honest—it’s also when the dust flies and life gets a little chaotic. Being prepared for what's coming is the key to navigating this phase smoothly, from the first swing of the sledgehammer to the final brushstroke.
Knowing the general sequence of a major remodel helps set realistic expectations. While every project has its own quirks, there’s a logical flow that quality builders follow to keep things efficient and prevent having to redo work down the line.
The Order of Operations: A Step-by-Step Breakdown
Think of it as a carefully choreographed dance. Your home will transform through a series of coordinated stages, and it generally looks something like this:
- Prep & Demo: First things first, your builder will carefully prep the site, protecting the parts of your home that aren't being touched. Then comes the demolition—a methodical process of clearing out the old to make way for the new.
- Structural Work: This is where the new skeleton of your space takes shape. We’re talking about framing new walls, maybe altering the roofline, or making any necessary tweaks to the foundation.
- The "Rough-Ins": With the framing up, it’s time for the guts of the house. Licensed plumbers, electricians, and HVAC pros will run all the new lines, wires, and ductwork through the open walls and floors before any drywall goes up.
- Insulation & Drywall: Once the rough-in work passes inspection, the walls get closed up. This involves installing high-performance insulation for energy efficiency, followed by hanging, taping, and texturing the drywall to create your new rooms.
- Finishes & Fixtures: This is where you see the biggest visual payoff. Flooring goes down, custom cabinets and countertops are installed, and painters bring your color palette to life. It’s also when light fixtures, faucets, and new appliances are put into place.
Over our 15+ years of remodeling homes across Oklahoma, we’ve learned one thing is non-negotiable: clear, consistent communication during these stages is what makes or breaks the client experience.
How to Stay Sane When Your Home is a Work Zone
Living through a remodel is an adventure, but a little prep goes a long way. If you’re redoing your kitchen, setting up a temporary "kitchenette" is a must. A simple corner with a microwave, coffee maker, and a mini-fridge can feel like an absolute lifesaver.
Your best tool for staying calm is talking to your build team. At ACET Custom Homes, we insist on regular site meetings. These are your chances to walk the space, see the progress with your own eyes, ask any questions that have popped up, and make decisions without feeling rushed.
A well-run project isn't one that has zero problems. It's one where problems are spotted early and solved quickly because the homeowner and builder are talking openly.
Understanding the project schedule is also incredibly empowering. Your builder should give you a timeline that maps out the key milestones. Sure, Oklahoma weather or a surprise supply chain issue can cause shifts, but that schedule serves as your roadmap and keeps everyone accountable.
The Inevitable Change Order
Even with the world's most detailed plan, things happen. You might see the tile in person and decide to go in a different direction, or the team might open a wall and uncover an unexpected structural issue. This is what a change order is for. It’s not a sign of poor planning; it’s a professional tool for managing adjustments.
Here’s how a change order works:
- It starts with an idea or an issue: Either you or your builder identifies something that needs to change from the original plan.
- Everything is documented: The builder drafts a formal document detailing the new scope of work, how it affects the cost, and any impact on the project timeline.
- You give the final approval: Nothing moves forward until you’ve had a chance to review and sign the change order. This simple step is crucial for preventing any misunderstandings or budget surprises later on.
Successfully navigating the construction phase is all about being an informed, engaged partner in the process. When you understand the sequence of events, prepare for the temporary disruption, and maintain an open line of communication, you help ensure your project stays on track and ends up looking exactly like you dreamed.
To get a better feel for how we manage our projects, feel free to browse our Custom Home Builder Articles.
Step 6: The Final Walkthrough and Punch List
You've made it to the home stretch. This is the moment when all the planning, decisions, and construction come together. But before you pop the champagne, there's one last, crucial step: the final walkthrough.
This isn't just a casual glance around your new space. It’s your official opportunity to meticulously inspect every detail and make sure the work matches the quality and specifications you agreed on. The result of this inspection is the punch list—a documented list of any touch-ups or fixes needed before you officially sign off on the project.
Over our 15+ years building custom homes at ACET Custom Homes, we’ve learned that a patient, systematic walkthrough is the key to a happy ending. Don't rush it. This is your chance to ensure every last detail is perfect.

What to Look For on Your Walkthrough
To build a solid punch list, you need to channel your inner detective. Grab a notepad, your phone for taking pictures, and a roll of blue painter's tape—it's perfect for marking spots that need attention without leaving a mark.
Here’s a checklist to guide your inspection:
- Paint and Finishes: Scan walls, ceilings, and trim from different angles and in different light. Look for any drips, uneven sheens, missed spots, or scuffs that need touching up.
- Fixtures and Hardware: Systematically test every single thing. Flip all the light switches. Turn on every faucet. Open and close every door, checking that the handles are secure and level. Give every cabinet pull a gentle tug.
- Cabinetry and Countertops: This is a big one. Open and close every single cabinet door and drawer. Do they glide smoothly? Are they perfectly aligned? Run your hand over countertops to feel for any chips or scratches.
- Flooring and Tile: Walk the entire space, looking down. Are there any scratches on the hardwood? Any gaps between planks? For tile, check that grout lines are clean, consistent, and fully sealed.
- Appliance Functionality: Don't just assume they work. Turn on every burner of the new stove. Run a quick rinse cycle on the dishwasher. Check the settings on the microwave and oven.
A good builder expects you to have a punch list. It’s a normal and necessary part of the quality-control process. Don't ever feel awkward about pointing out imperfections, no matter how small. This is your home, and you deserve to be 100% happy with it.
Finalizing Payments and Paperwork
Once you’ve compiled your punch list, your builder will get to work correcting every item. You shouldn’t make that final payment until every single thing on that list has been completed to your satisfaction. This is your leverage to ensure the job is truly finished.
This is also the time to gather all the important project paperwork. Before you write that last check, make sure you have these documents in hand:
- Lien Waivers: This is non-negotiable. You need written proof from the general contractor and any major subcontractors that they’ve been paid in full. This protects you from a lien being placed on your property down the road.
- Warranty Information: Your builder should hand over a folder with all the manuals and warranty cards for your new appliances, windows, plumbing fixtures, and everything else that was installed.
- Builder's Warranty: Get a clear, written document outlining the builder's warranty on their workmanship. Know what’s covered and for how long.
Wrapping up these final details ensures a clean, worry-free conclusion to your project. Now you can truly relax and enjoy the beautiful new space you’ve created in your Oklahoma home.
Frequently Asked Questions About Planning a Home Remodel
We get it. Planning a remodel, especially in the OKC area, brings up a ton of questions. Here are a few of the most common ones we hear from homeowners, along with some straight-to-the-point answers based on our years of experience.
What is the first step in planning a remodel?
Before you call anyone, the first step is defining your goals and budget. Figure out the why behind your project—are you fixing a dysfunctional layout, adding space, or updating an old style? Then, establish a realistic budget. These two elements will guide every other decision in the remodeling process.
How do you plan a remodel from start to finish?
Planning a remodel follows a clear path: 1) Define your vision and scope. 2) Set a realistic budget, including a 15-20% contingency fund. 3) Assemble your team (architect, designer, builder, or a design-build firm). 4) Finalize designs and secure building permits. 5) Navigate the construction phase. 6) Conduct a final walkthrough and create a punch list for final fixes.
How much should I budget for a home remodel in Oklahoma?
The cost varies widely based on scope, but a crucial rule is to budget a contingency fund of 15-20% of the total construction cost. In Oklahoma, this is critical for addressing unforeseen issues like foundation shifts from expansive clay soil or outdated wiring in older homes. This buffer prevents financial stress when surprises inevitably arise.
Do I need an architect for a remodel?
You need an architect if your project involves structural changes like moving load-bearing walls, adding a story, or changing your home's footprint. For interior-only remodels without structural alterations (like a kitchen or bath update), an experienced design-build firm like ACET Custom Homes often has the in-house design expertise required, streamlining the process.
Ready to design your custom home? Schedule a free consultation with ACET Custom Homes today.
Consultation Today!